

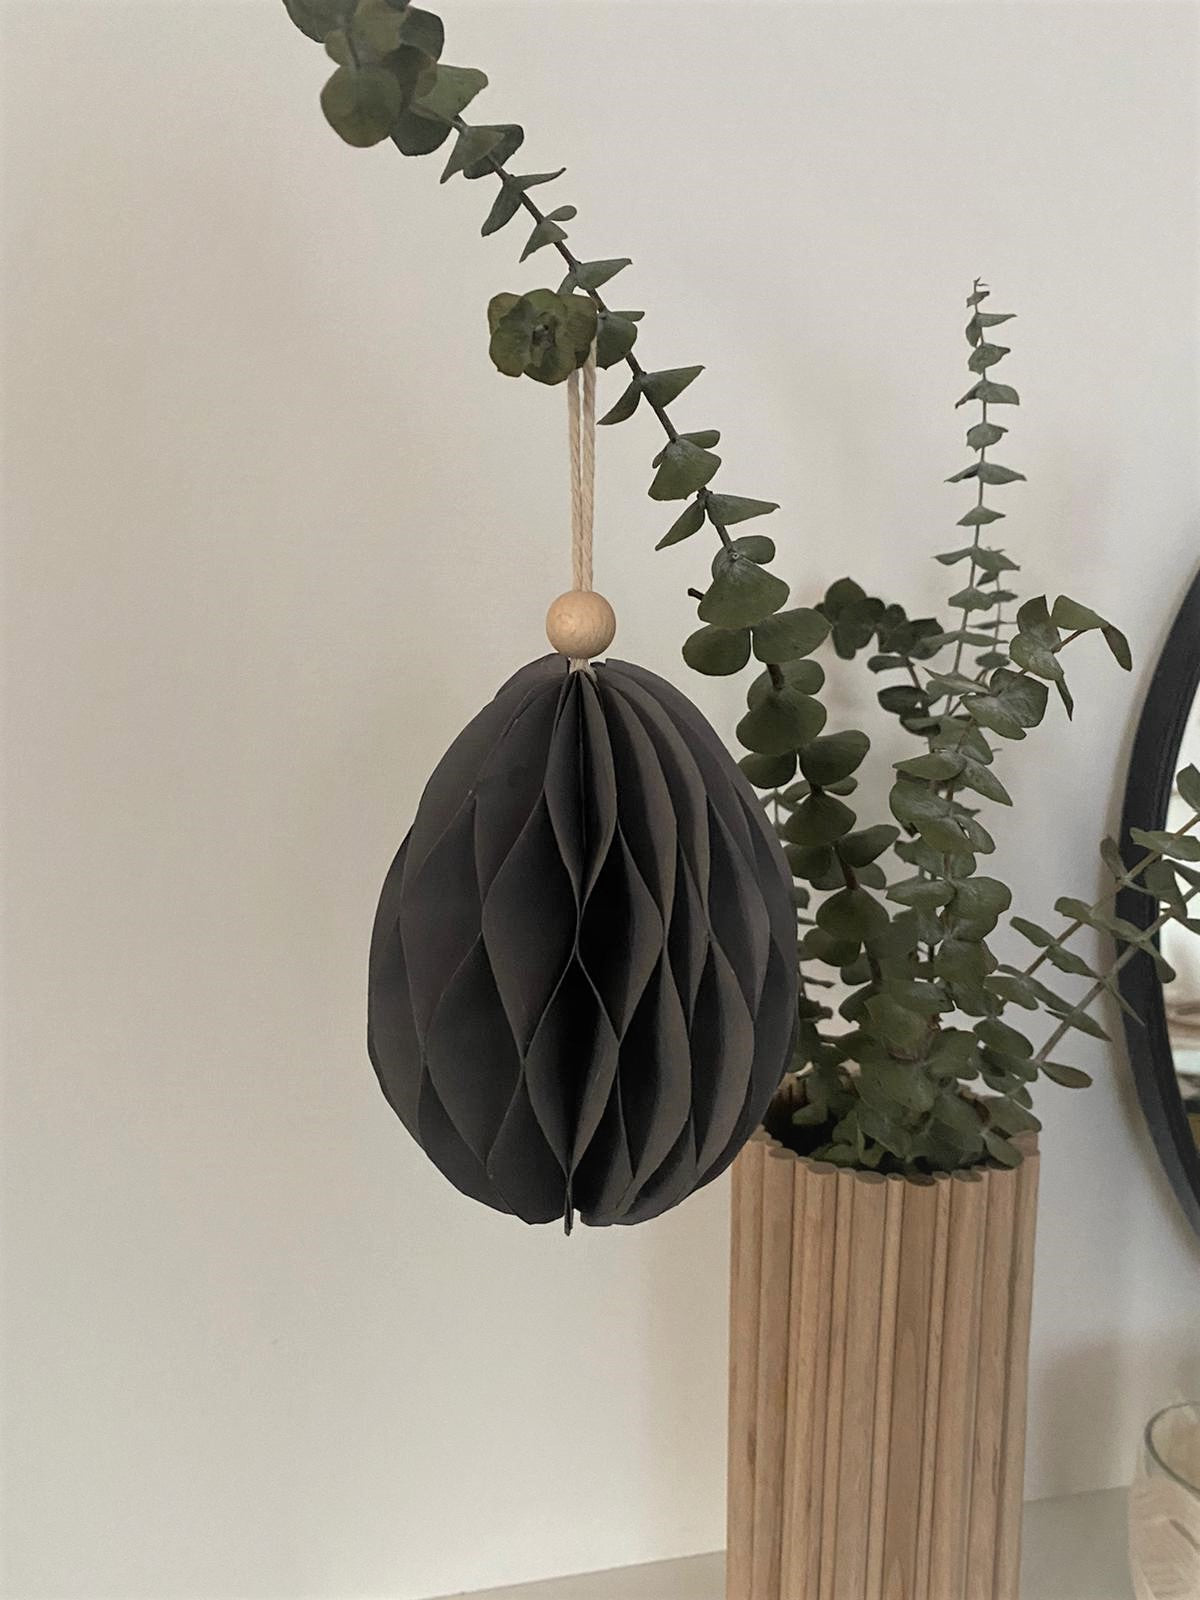
Paper honeycomb easter eggs
If you don't feel like blowing out eggs or painting eggs, this is certainly a very nice and quick alternative for your Easter decorations.

Everything you need for this:
- Paper or thin cardboard or sandwich bags
- Glue
- Scissors
- Pen
- Ribbon for hanging and, if necessary, small wooden ball
- printer for the template
- clothespins and books
Here you will receive a suitable template for a honeycomb egg measuring approx. 12 cm.
That's how it works:
1. Print out the template in its original size.
2. Then transfer the Easter egg to your paper. You need a total of 15 Easter Eggs. Cut out the Easter eggs.

3. Then fold them in half (vertically).

4. The individual adhesive markings are drawn on the template. The first two glue lines (marked with an asterisk on the template) are for gluing the Easter eggs from the inside. Fold the template in half and place it next to your Easter egg. Make a long glue mark on each one and glue the eggs together from the inside. Place books on the glued eggs and wait a moment for the glue to dry.

5. Now glue the individual eggs together. There are two glue lines on the template (marked with boxes) for this purpose. Place the template next to you. Make a long glue mark on each and glue each egg together. Fasten the two glue points with clothespins and let it dry briefly.

6. Then take a ribbon and if you like, you can string a ball on it. Glue the tape to the edge of the glued eggs from the inside.

7. Once the glue has dried, fan the eggs and glue the two open areas together using the two glue lines (marked with boxes).

8. Fix the two glued areas with the clothespins and let everything dry well.
And that was about it!
Have fun tinkering!